Stored Event Logs — See Exactly What Your Tracking Sends
When UniPixel fires a conversion event — a purchase, an add-to-cart, a page view — it doesn’t just send the data and hope for the best. It stores a complete record of what was sent, when it was sent, which platform received it, and whether the platform confirmed it arrived.
This is your Stored Event Logs. It’s the single most useful tool you have for understanding what your ad platforms are actually seeing.
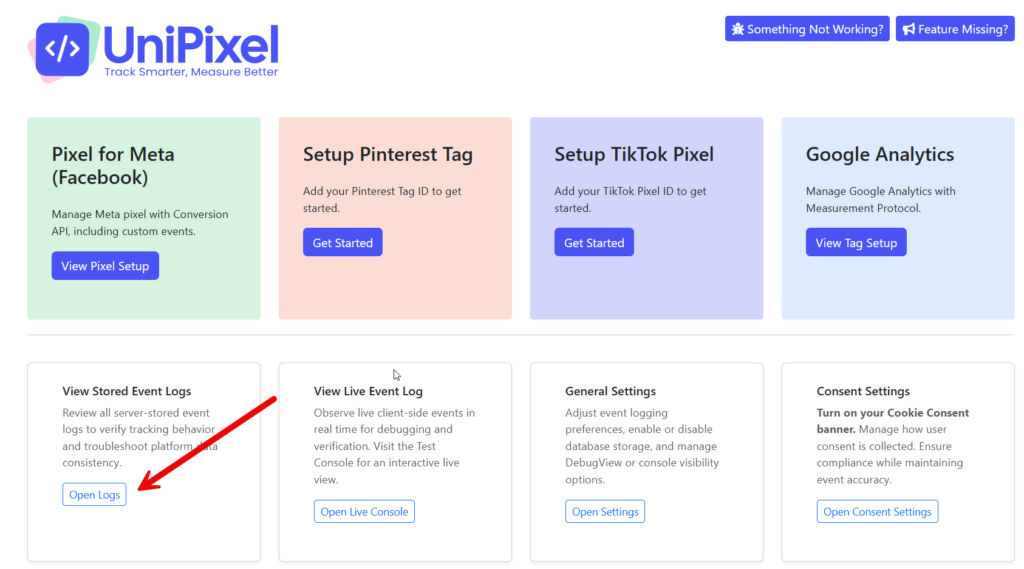
To access it: go to UniPixel → Stored Event Logs in your WordPress admin. Or from the UniPixel home screen, click Open Logs.
What you’re looking at
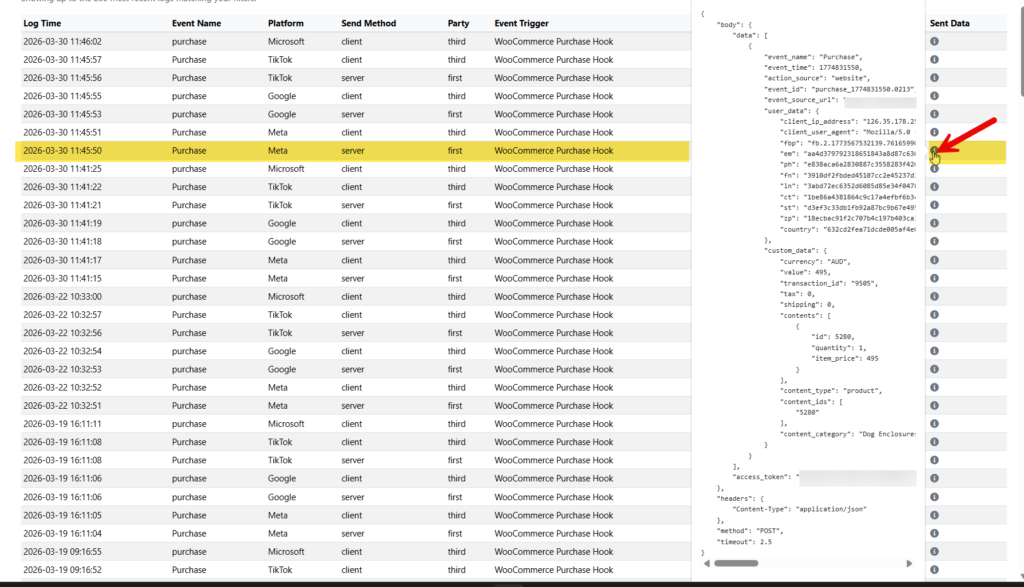
Each row in the log is one event sent to one platform. A single purchase on your store generates multiple rows — one per platform, and for most platforms, both a server-side and a client-side entry.
Here’s what each column tells you:
| Column | What it means |
|---|---|
| Log Time | When the event was sent |
| Event Name | What happened — Purchase, AddToCart, page_view, etc. |
| Platform | Which ad platform received it — Meta, Google, TikTok, Pinterest, or Microsoft |
| Send Method | server = sent from your server via the platform’s API. client = sent from the visitor’s browser via the pixel |
| Party | first = server-side (your server sent it directly). third = client-side (the browser sent it) |
| Event Trigger | What caused the event — usually “WooCommerce Purchase Hook” for purchases |
| Response | What the platform said back. “Successful: Code 200, Ok” means it arrived. “Client-side event, no response” is normal for browser-sent events |
| Sent Data | The blue info icon — click or hover to see the exact payload that was sent |
Finding specific events
Use the filters at the top of the page to narrow down what you’re looking for.

Common searches:
- Find a specific purchase: Type
purchasein the Event Name filter - Check one platform: Set the Platform dropdown to
Metato see only Meta events - Server-side only: Set Method to
serverto see only API-sent events - Client-side only: Set Method to
clientto see only browser pixel events
The real power — seeing exactly what was sent
This is where it gets interesting. Every row has a blue info icon in the Sent Data column. Click it, and you’ll see the complete data payload that was sent to that platform.
For a server-side Meta Purchase event, you’ll see:
- event_name — “Purchase”
- event_time — the exact timestamp
- event_id — the deduplication ID (matches the client-side event so Meta counts it once)
- user_data — the visitor’s data sent to Meta:
fbp— Meta’s browser cookie (used for view-through attribution)fbc— the Facebook click ID (links this purchase back to a specific ad click)em,ph,fn,ln— hashed email, phone, first name, last name (Advanced Matching)ct,st,zp,country— hashed address fields
- custom_data — the transaction:
currency,value— the order totaltransaction_id— your WooCommerce order numbercontents— product IDs, quantities, and prices
For a client-side event, the payload is simpler — the browser pixel sends less data than the server-side call. This is normal. The server-side event is the more complete one.
What to look for when debugging
“My purchase isn’t showing in Meta Ads Manager”
- Filter by
purchaseand platformMeta - Find the purchase by date
- Check the Response column — does it say “Successful: Code 200, Ok”? If yes, Meta received it
- Click the Sent Data icon on the server-side event
- Look for
fbcin theuser_data— this is the field that links the purchase to a specific ad click. Iffbcis empty, Meta received the purchase but can’t attribute it to your campaign. This happens when the visitor didn’t click directly through from an ad.
“My events aren’t being logged”
- Check that database storage is enabled in General Settings
- Check that Log Server-side Response is toggled ON for the events you want to log (on each platform’s Events page)
- Client-side events always show “Client-side event, no response” — that’s normal, not an error
“Successful: Code 200 but the platform shows no events”
- The event was sent and accepted — check the platform’s own tools (Meta Events Manager, GA4 DebugView) to confirm
- Platforms can take minutes to hours to process events
- Verify your Pixel ID / Measurement ID matches what the platform expects
Understanding server vs client events
For each purchase, you’ll typically see two rows per platform — one server, one client. This is intentional.
Server-side (first party): Your WordPress server sends data directly to the platform’s API. Bypasses ad blockers, browser privacy, and iOS limitations. More reliable and carries more data including Advanced Matching fields.
Client-side (third party): The visitor’s browser fires the pixel. Traditional tracking — can be blocked by ad blockers or privacy tools, but provides real-time browser context.
Both send the same event_id — the platform uses this to deduplicate. If it receives both, it counts the conversion once, not twice. This is automatic.
Quick reference — response codes
| Response | What it means |
|---|---|
| Successful: Code 200, Ok | Event received and accepted |
| Successful: Code 204, Ok | Event received (no content returned — normal for some platforms) |
| Client-side event, no response | Normal — browser pixels don’t return responses to WordPress |
| Error: Code 400 | Bad request — check Sent Data for clues |
| Error: Code 401/403 | Authentication failed — check your access token |
Tips
- Check logs after enabling a new platform — place a test order and verify both server and client events appear
- Use Sent Data to verify Advanced Matching — look for
em,phin user_data. If present and hashed, your match quality improves - Compare server vs client payloads — server-side should contain more data
- Check during campaign launches — when you need to verify conversions are attributed, this is where you look